What to Wear for Sunflower Field Photo Shoots | Caledon Family Photographer

What to Wear for Sunflower Field Photo Shoots | Caledon Family Photographer

What to Wear for Your Sunflower Photos

The most common question I get asked as a family photographer is “What should we wear for our photo shoot?”

Since I have Sunflower Mini Sessions coming up soon, let’s answer that question specifically for a session in a field of sunflowers. These tips can apply to any large field of flowers, or even just a field of green!

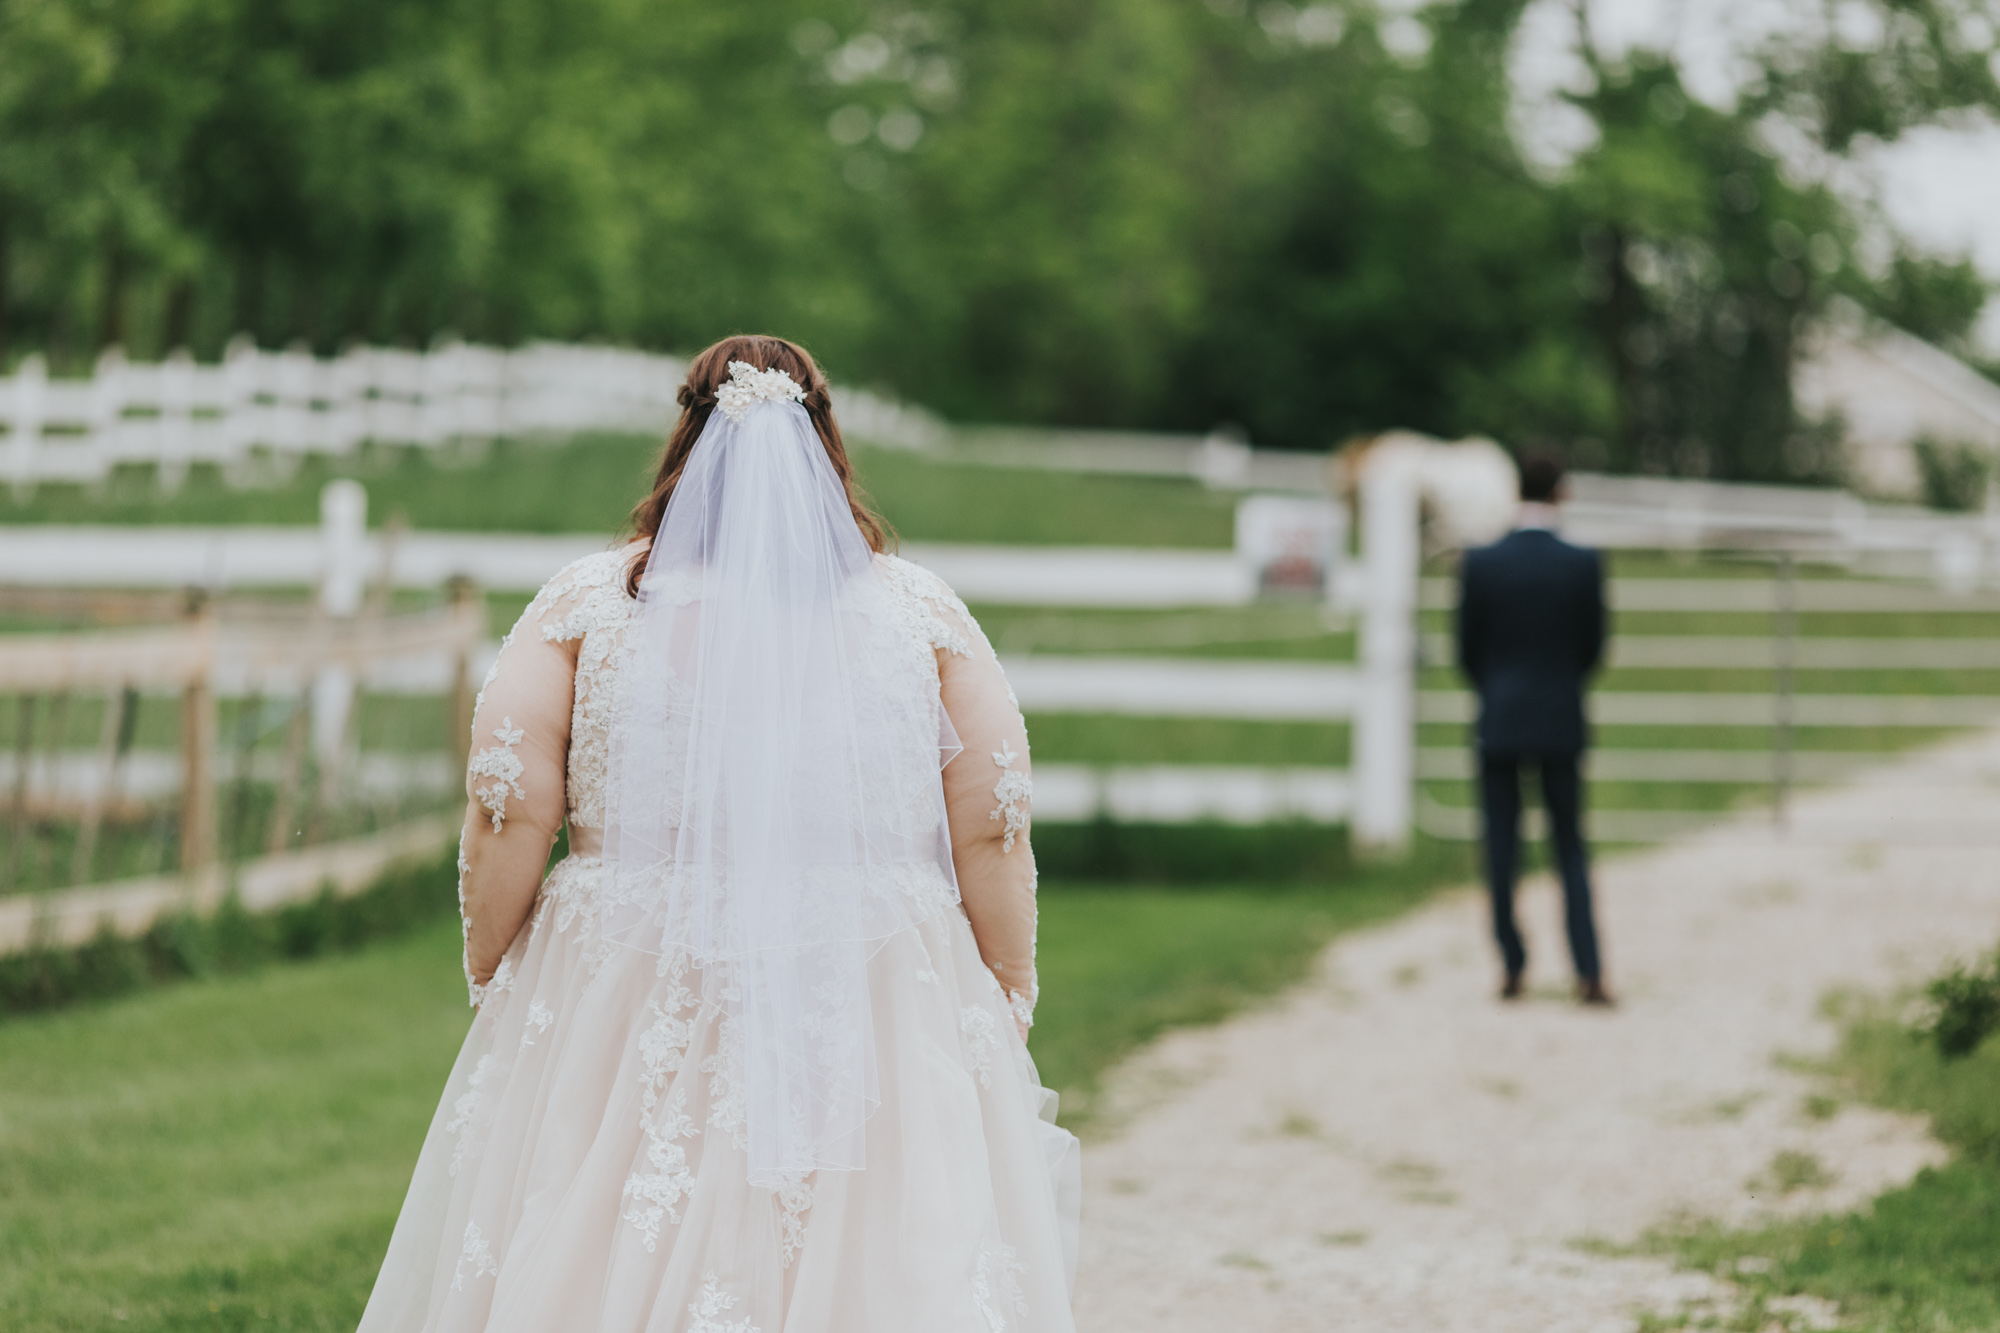
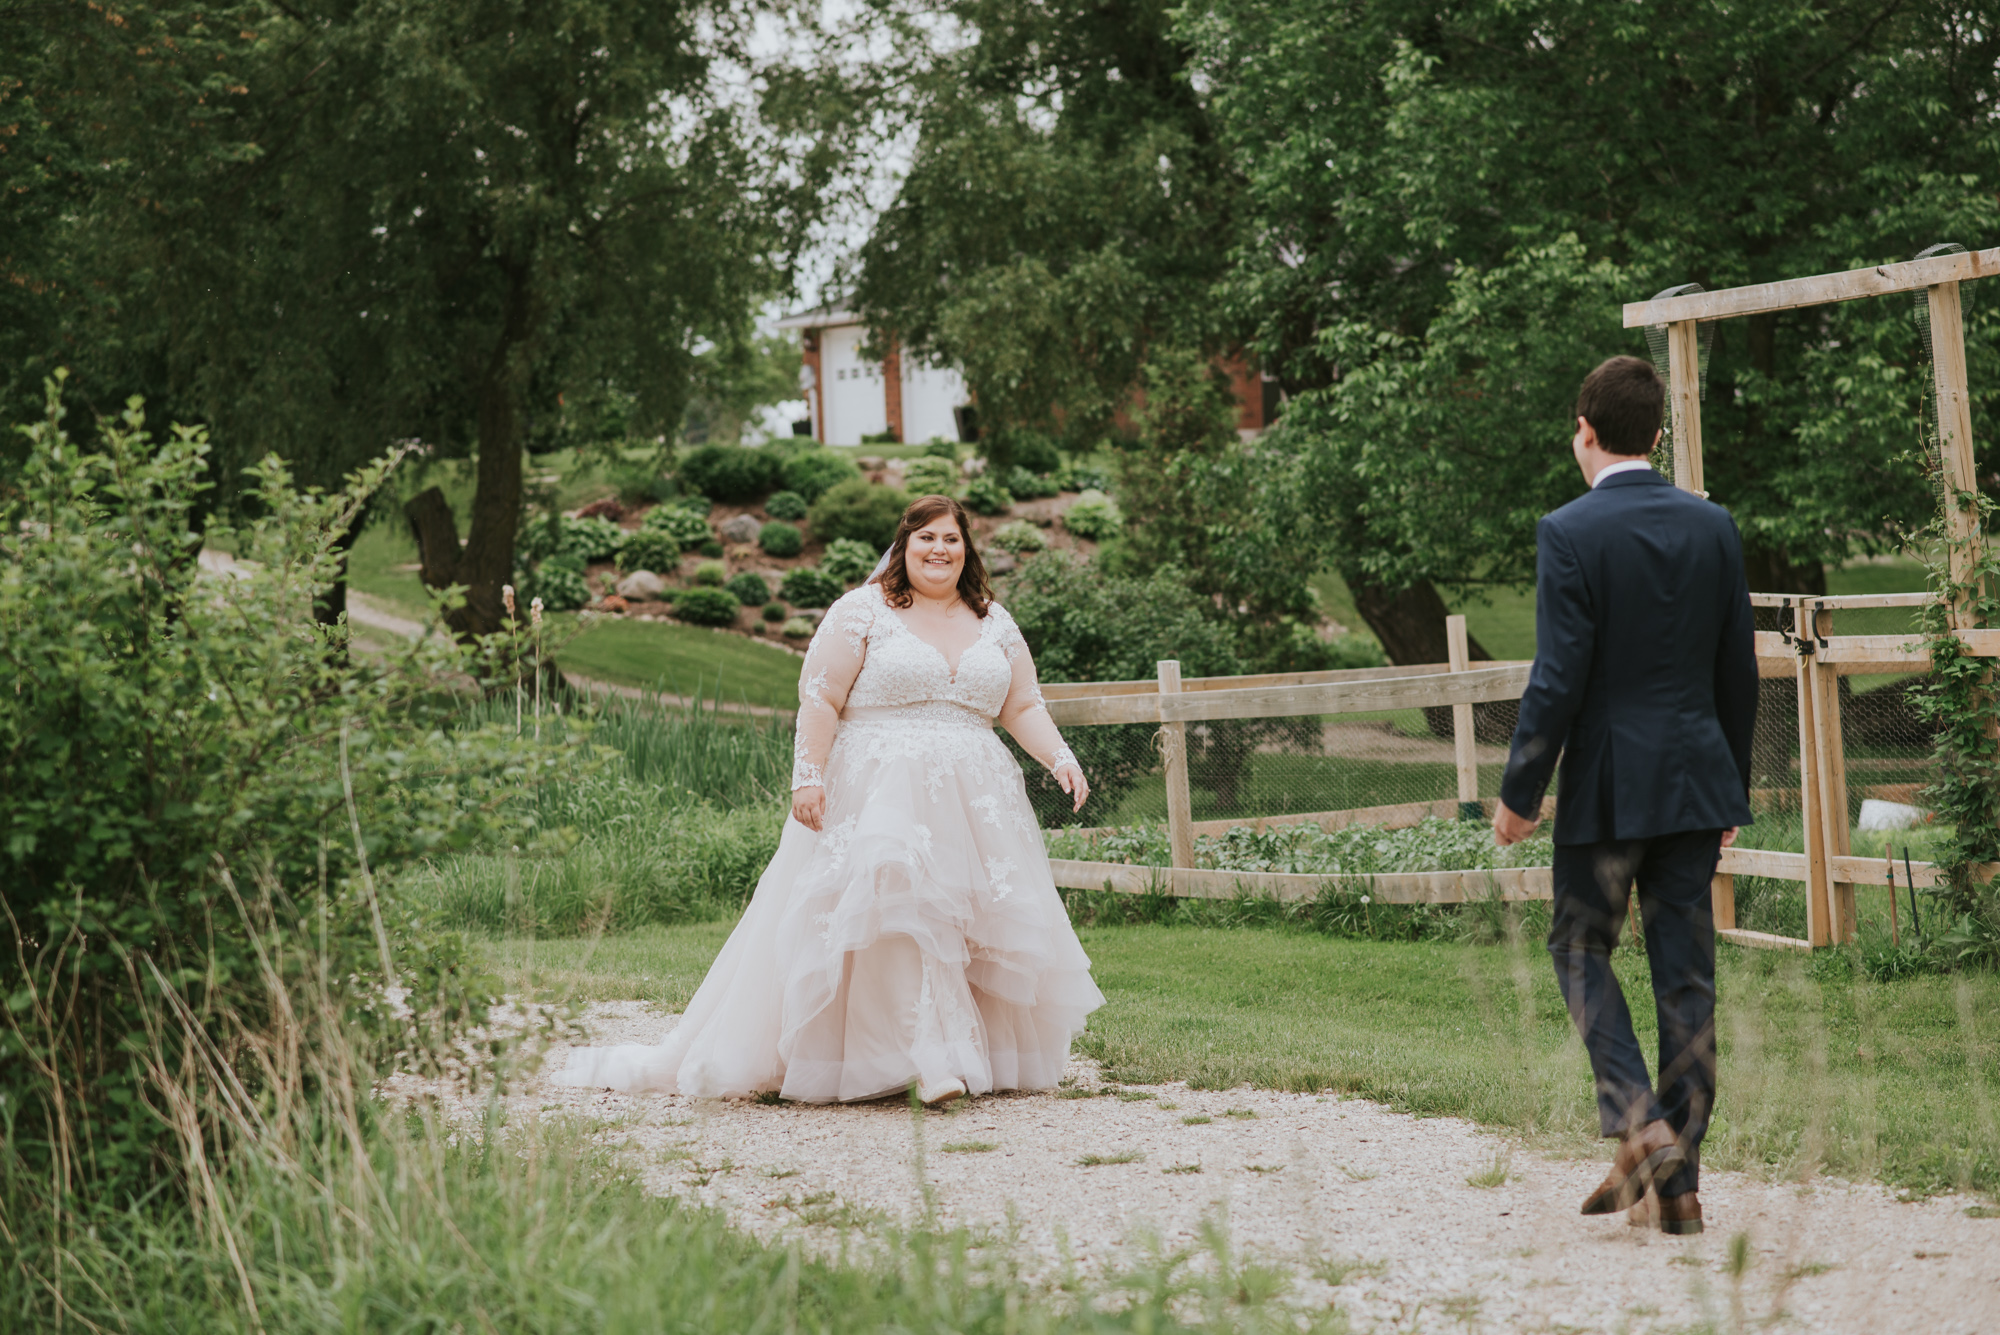
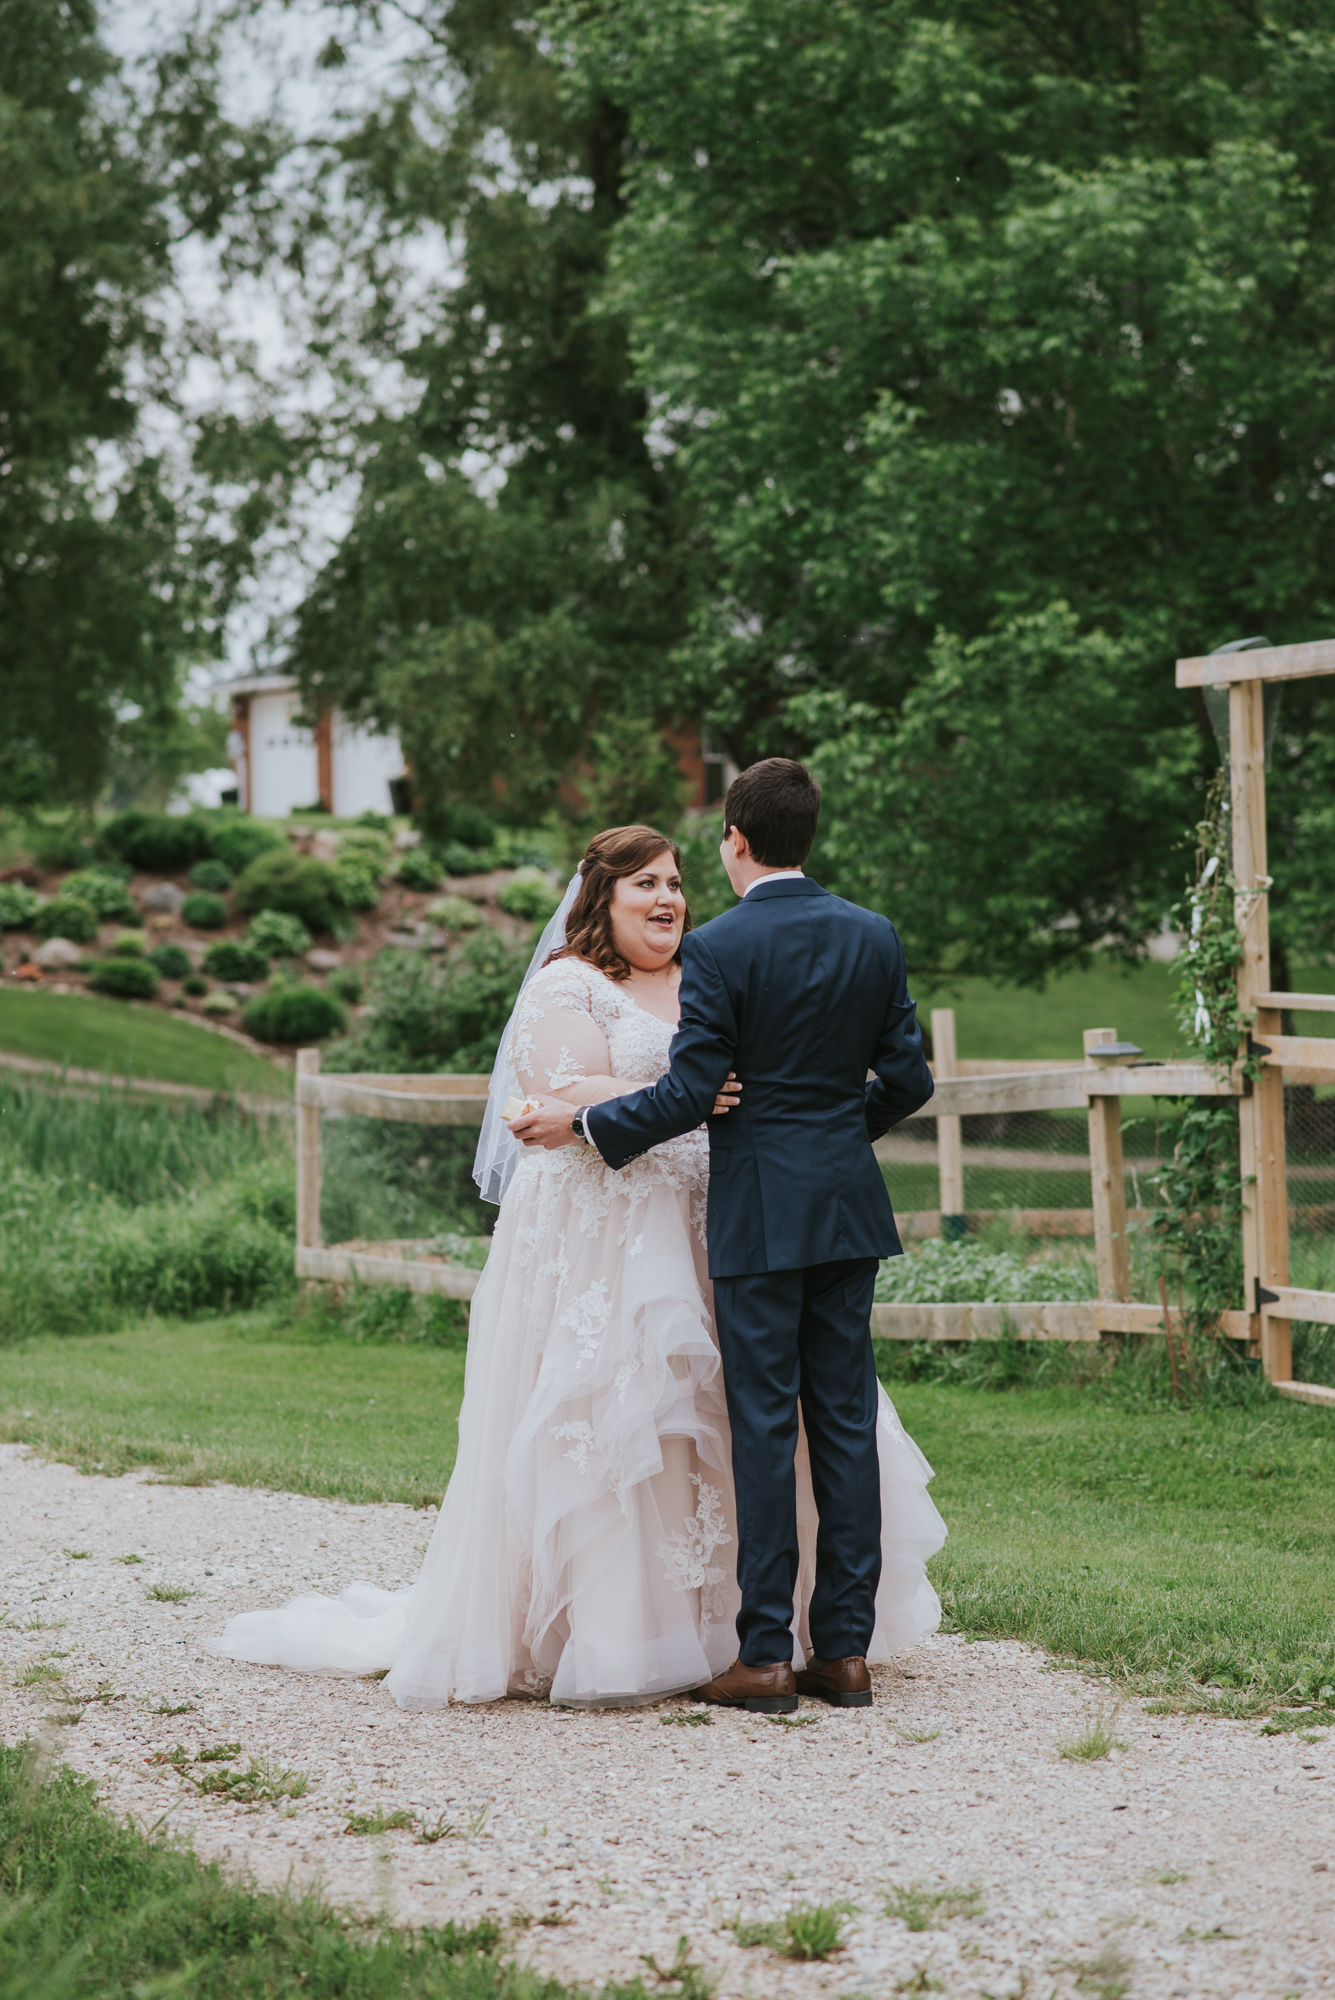
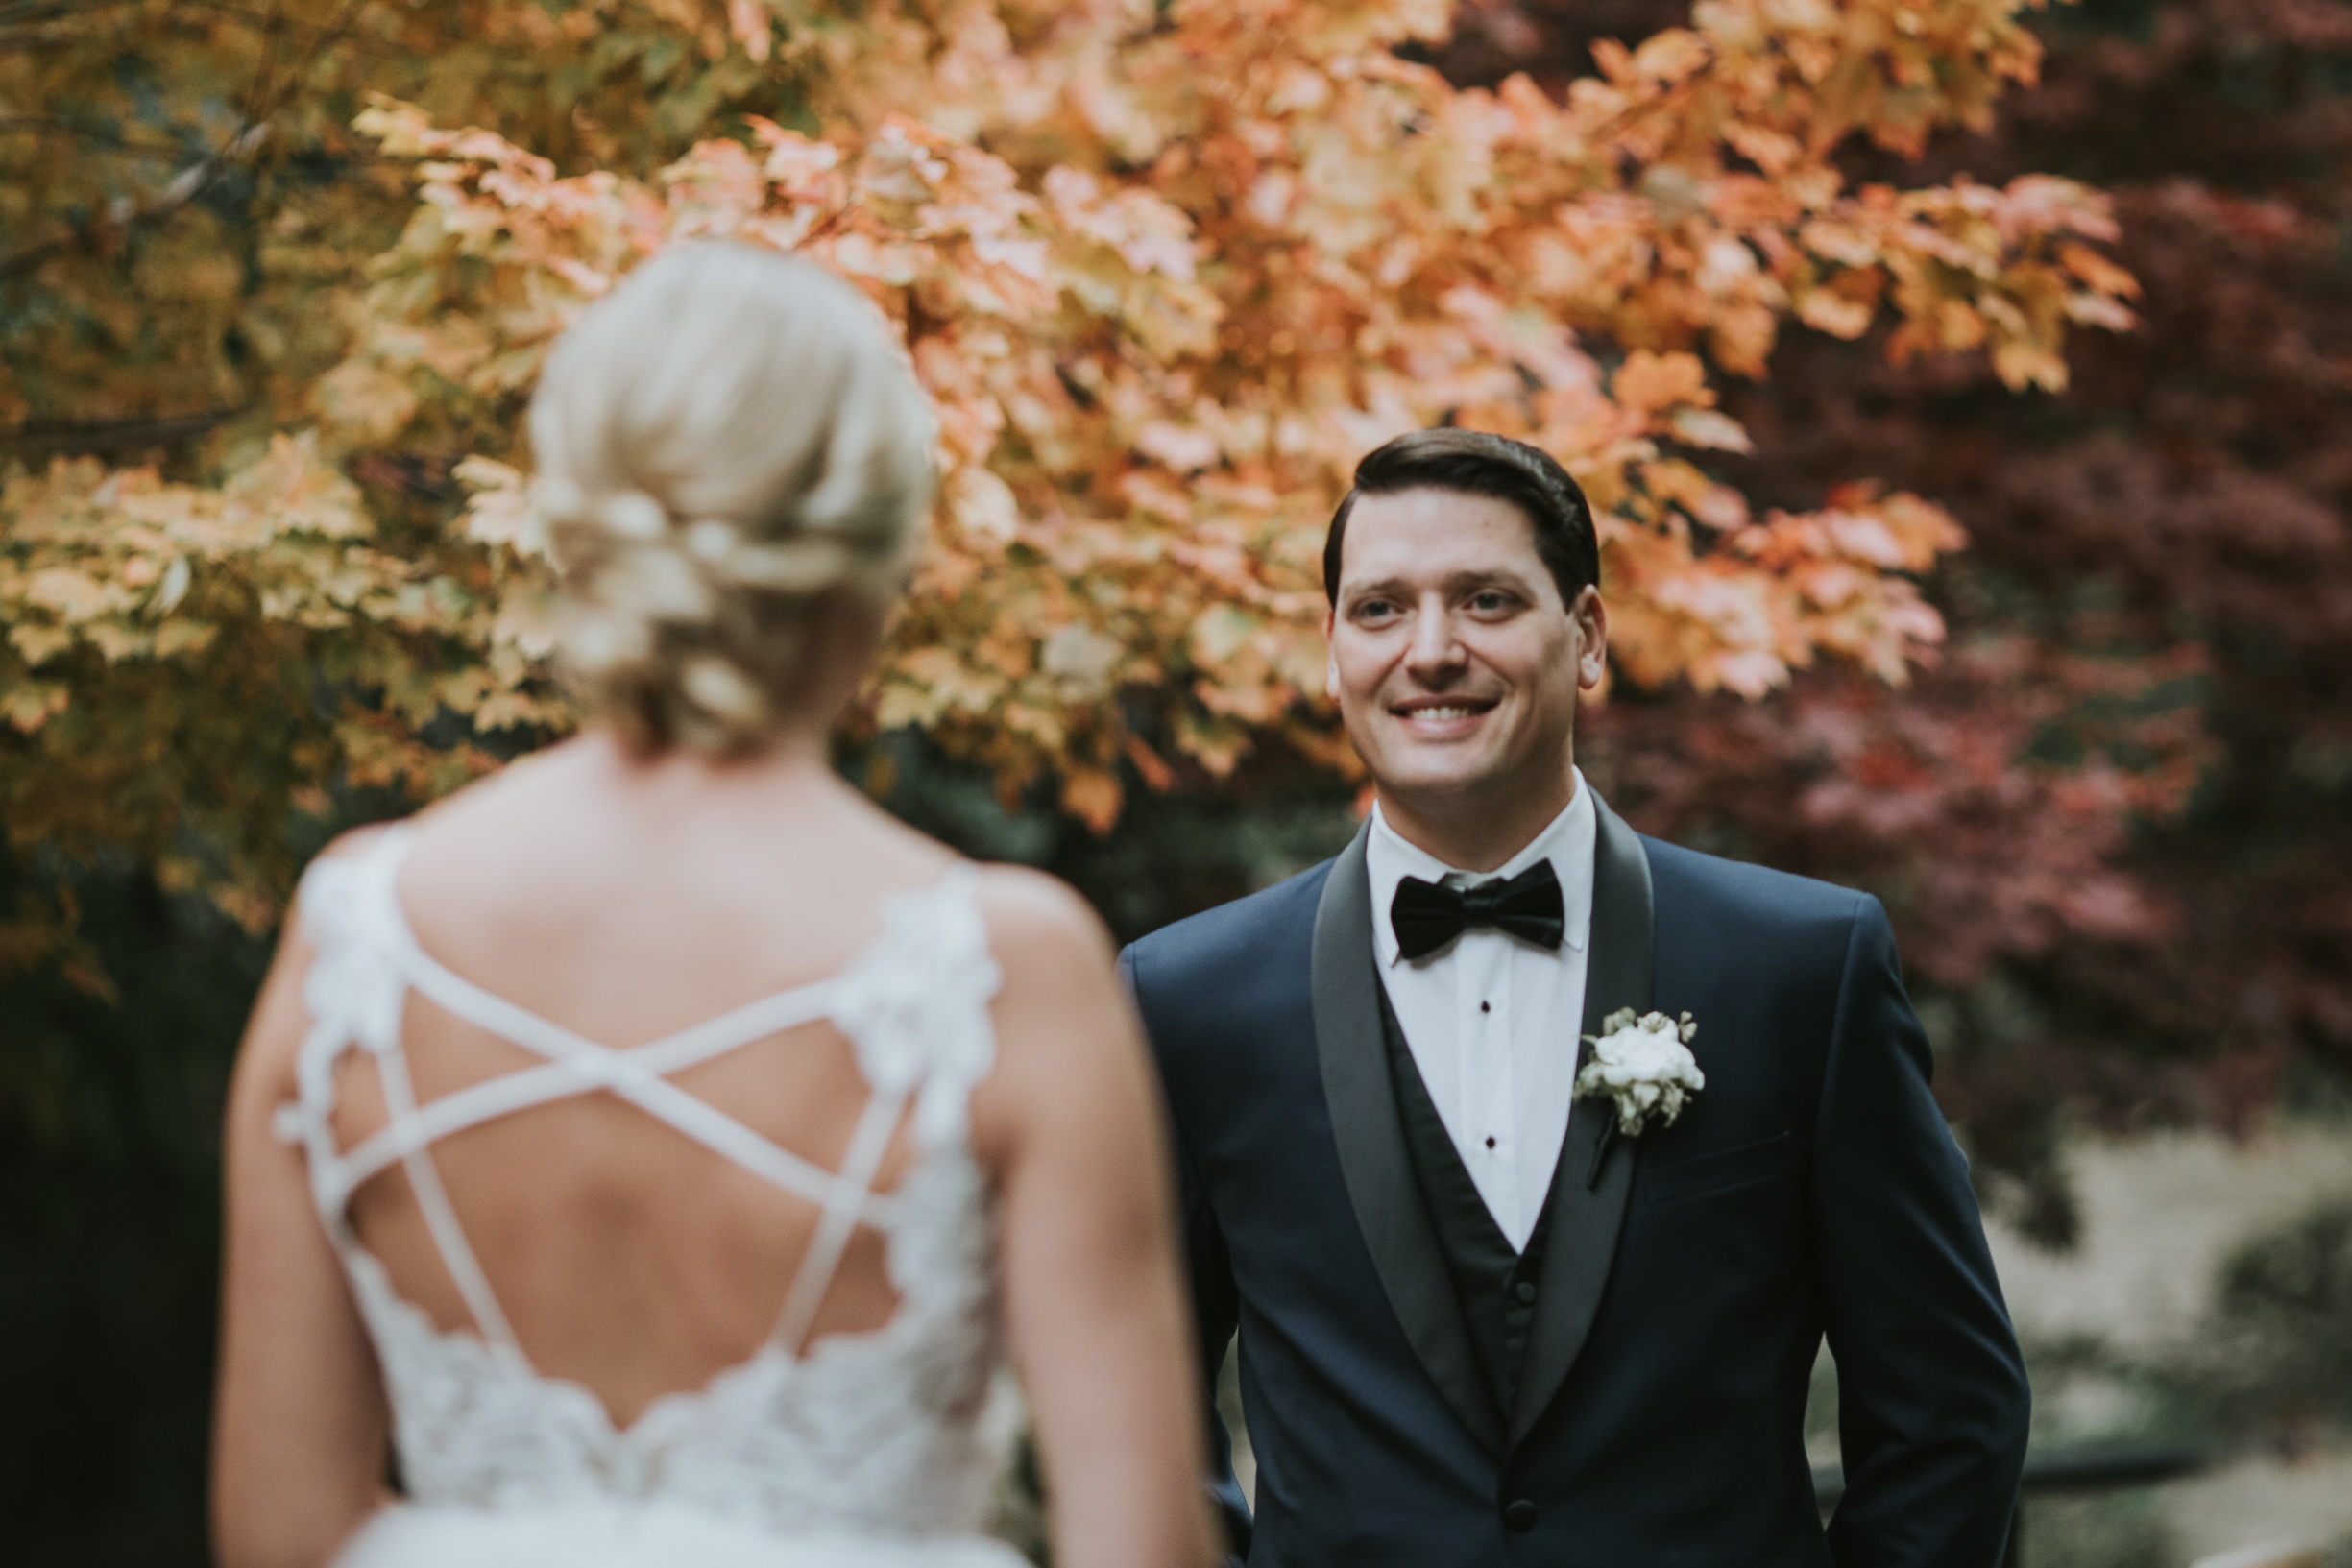
The First Look and Why You Should do One! | Alliston Wedding Photographer

I will be honest, only three years ago I had never even heard of a "First Look"! And now they are happening at most of the weddings I photograph!  Whether or not to do a First Look is your choice, your personal preference.  Some more traditional Brides prefer that first look to be when they walk down the aisle - all eyes on them, and her eyes only on her Groom.  Other couples prefer to take a moment before the ceremony to see one another, in private, without the guests watching. Whatever your preference, I love photographing that moment but I just wanted to share some examples and reason why I really love shooting First Looks!

Reason #1 - Intimacy.  Couples get a chance to see one another for the first time without the guests, friends and family watching. For some Brides this is ideal as they often spend that moment walking down the aisle worrying about tripping, looking at the guests, checking out the decor to make sure its correct, and so much more! They forget to enjoy the moment.  Then, when you get to the altar, the ceremony begins and you and your spouse do not get a chance to communicate.  My one rule (yes I have a First Look "rule"), is that no guest may be around when we do First Looks. No one. This is YOUR moment, your time, enjoy it!  You don't want the moment ruined by Aunt Matilda and her ipad camera in your face!
Then after I snap a few shots I will disappear for 5-10 minutes for you to talk and whisper sweet nothings to one another...your time.

firstlook
first look bride and groom

Reason #2 - Time!  As a photographer, the First Look makes my day! Why? Well, after the couple finish their moment we will go out and do all the formal shots of the couple, then gather the wedding party for some fun wedding party images, and then usually finish all the posed family shots - ALL BEFORE THE CEREMONY!!
 Why is this so amazing? Well, you can enjoy your ceremony and then move right into your party without having your guest wait around for hours while you take photos!  Its a win-win for me, the couple, and the guests! 

However...I do usually like to take the newly married couple aside for a few more shots together because now they will have that freshly married glow! 

toronto first look

Now what about that moment you walk down the aisle?  Does having a First Look take away from that moment?

I say NO! Its almost like you get two special moments now!  Walking down the aisle still feels special because now you are seeing one another for the first time in front of your friends and family,  many of which do not even know you already saw one another!  And you know that this is the real thing - the moment you have been waiting for your whole life, knowing that once you get down that aisle in a few short minutes you will be married to your true love!! It has a whole different feeling than the first look before the ceremony because now its really happening!

wedding shot alongside Carolyn Bentum Photography

wedding shot alongside Carolyn Bentum Photography

So, my future couples - whatever you decide to do is your choice and I love them both!  Hopefully this little post will give you some insight as to why many choose to do a First Look. I cannot wait to capture your moment, however that moment unfolds ♥


Stay Calm, Make a List. | How to Plan for Wedding Day Family Portraits

Stay Calm, Make a List. | How to Plan for Wedding Day Family Portraits

Some tips to help the portrait time of your day running smoothly and quickly. 

1. Always photograph groupings with small children first. Especially if the weather is not ideal, or its meal or nap time. 

Thrifty Thursdays | Simple Ways to Improve your Photography on A Budget | Photography Tutorialsl

I often have people asking me questions about photography - what camera should I get, should I take classes, can you teach me?  I wish i could teach everyone everything I know, but the truth is, I don't know even half of what others know, and I basically taught myself.  Success comes from hard work and determination and consistency - stepping outside your comfort zone and doing the hard stuff to make it happen.   It takes a willingness to keep learning even after you think you "got it". I love taking courses and workshops and continue to do so. Not only do I learn new techniques, I also make new lifelong friends and find inspiration from new artists. 

I have been thinking for awhile about ways to make my blog more personal and hopefully more helpful for other aspiring photographers - whether you are just beginning, using any camera or device to record your moments, and for any reason.

Any Level, Any Camera, Any Reason.  Slogan?!

When you are new to photography, or even just new to digital photography, there is a lot to learn and it can be super overwhelming.  There is a great tendency to spend more money than we really need to as often we believe that more money means better equipment which in turn means we take better pictures. Not true. An amazing artist can take just as great photographs on a lower end camera and I personally know many talented photographers who use crop sensor "starter" DSLR cameras and you would never know it! So how can we rock what we got?

I am going to list some of the budget friendly ways I grew as a photographer and maybe some of these will help you grow as well!

1. Learn your camera! Cost: FREE!

Read your manual, study the little CD guide that often comes with some cameras, and if you bought second hand and do not have a manual, guess what? I guarantee you can find a copy of your camera's manual online as a free download! Just search the make and model and save to your computer. I promise that just knowing the ins and outs of the camera you have will improve your knowledge enough and you can start taking photos outside of "auto" mode! 

I shot with my Canon Rebel T3 for years! And actually I still pull it out as a back up now and then and the more I got to know it, the better my images became with it!

Taken on Canon Rebel t3

Taken on Canon Rebel t3

2. Google Search Cost: FREE!

Mr. Google knows everything doesn't he?  Well, maybe not everything, but he can USUALLY help us find out what we need to know! When researching our cameras, how to use software, a particular editing technique, or maybe you just want to view images that others have created with the same camera or lens as you, Google will lead the way. Search different keywords, follow links found on other pages.  Just spend a few moment to look around, read and learn! I will say that Google has been a great tool for me especially when i was just beginning. It lead me to some of my favourite sources of inspiration, tutorials and has even convinced me NOT to purchase items I maybe did not need :)

3. 50mm prime Lens! Cost: 100-150$

You can purchase a 50mm 1.8 prime lens for under 150$! This "nifty fifty" was the first lens I purchased when I first bought my DSLR. It takes some getting used to as most of us have only used zoom lenses, you will quickly learn to use your feet to zoom by moving closer or farther from your subject! Compared to the lens that comes with your camera, which is usually a 18-55mm lens that changes aperture as you zoom in or out, the nifty fifty will stay put at the aperture you set it at. This will help you learn what settings you prefer and give you more control over the pictures you are taking. The glass in this lens is much better than the kit lens, giving you more clear images. Not to mention you can shoot with an aperture as wide at 1.8 which will give you that blurry background most of us strive for (called bokeh). 

Taken with a 50mm 1.8 Prime lens on Canon Rebel t3

Taken with a 50mm 1.8 Prime lens on Canon Rebel t3

4. Join a Forum! Cost: Prices Range

Forums are awesome! You can learn so much from photographers from all levels, from brand spanking new (as in, they haven't even taken the camera out of the box!), to seasoned vets. The only problem may be choosing the right forum for you as there are so many! Personally, the first one I joined was Clickinmoms.  I think it may have the largest membership and is chalked FULL of information! I am also a member of The Bloom Forum, which is smaller but I love it for totally different reasons such like the inspiring photographers and all the film talk!  Most of the forums offer a free trial so I would suggest trying them out first to see which one speaks to you!  Most of them offer workshops which can be pivotal in your learning!

Some suggestions are Clickinmoms, Bloom Forum, In Beauty and Chaos, Light Inspired, Rock the Shot, and so many more! 

Taken during FAVE - a workshop offered on the Clickinmoms forum

Taken during FAVE - a workshop offered on the Clickinmoms forum

Hopefully this helps just one of you before you go out and spend way too much money on something you do not need quite yet!  Feel free to leave a thought or question below! I would love to hear them! Or let me know if you have a topic you would like to see on a future "Thrifty Thursdays" post!

Check back in two weeks for the next Thrifty Thursday post! 


Freelensing Tutorial - The Basics

After getting so many questions about freelensing I wrote a tutorial for Clickin Moms.  I thought I would also share here for those of you who are not a member of the forum! PLEASE do not hesitate to ask me questions!

What is Freelensing?

Freelensing is when you detach your lens from your camera and hold it very close to the camera body to shoot.
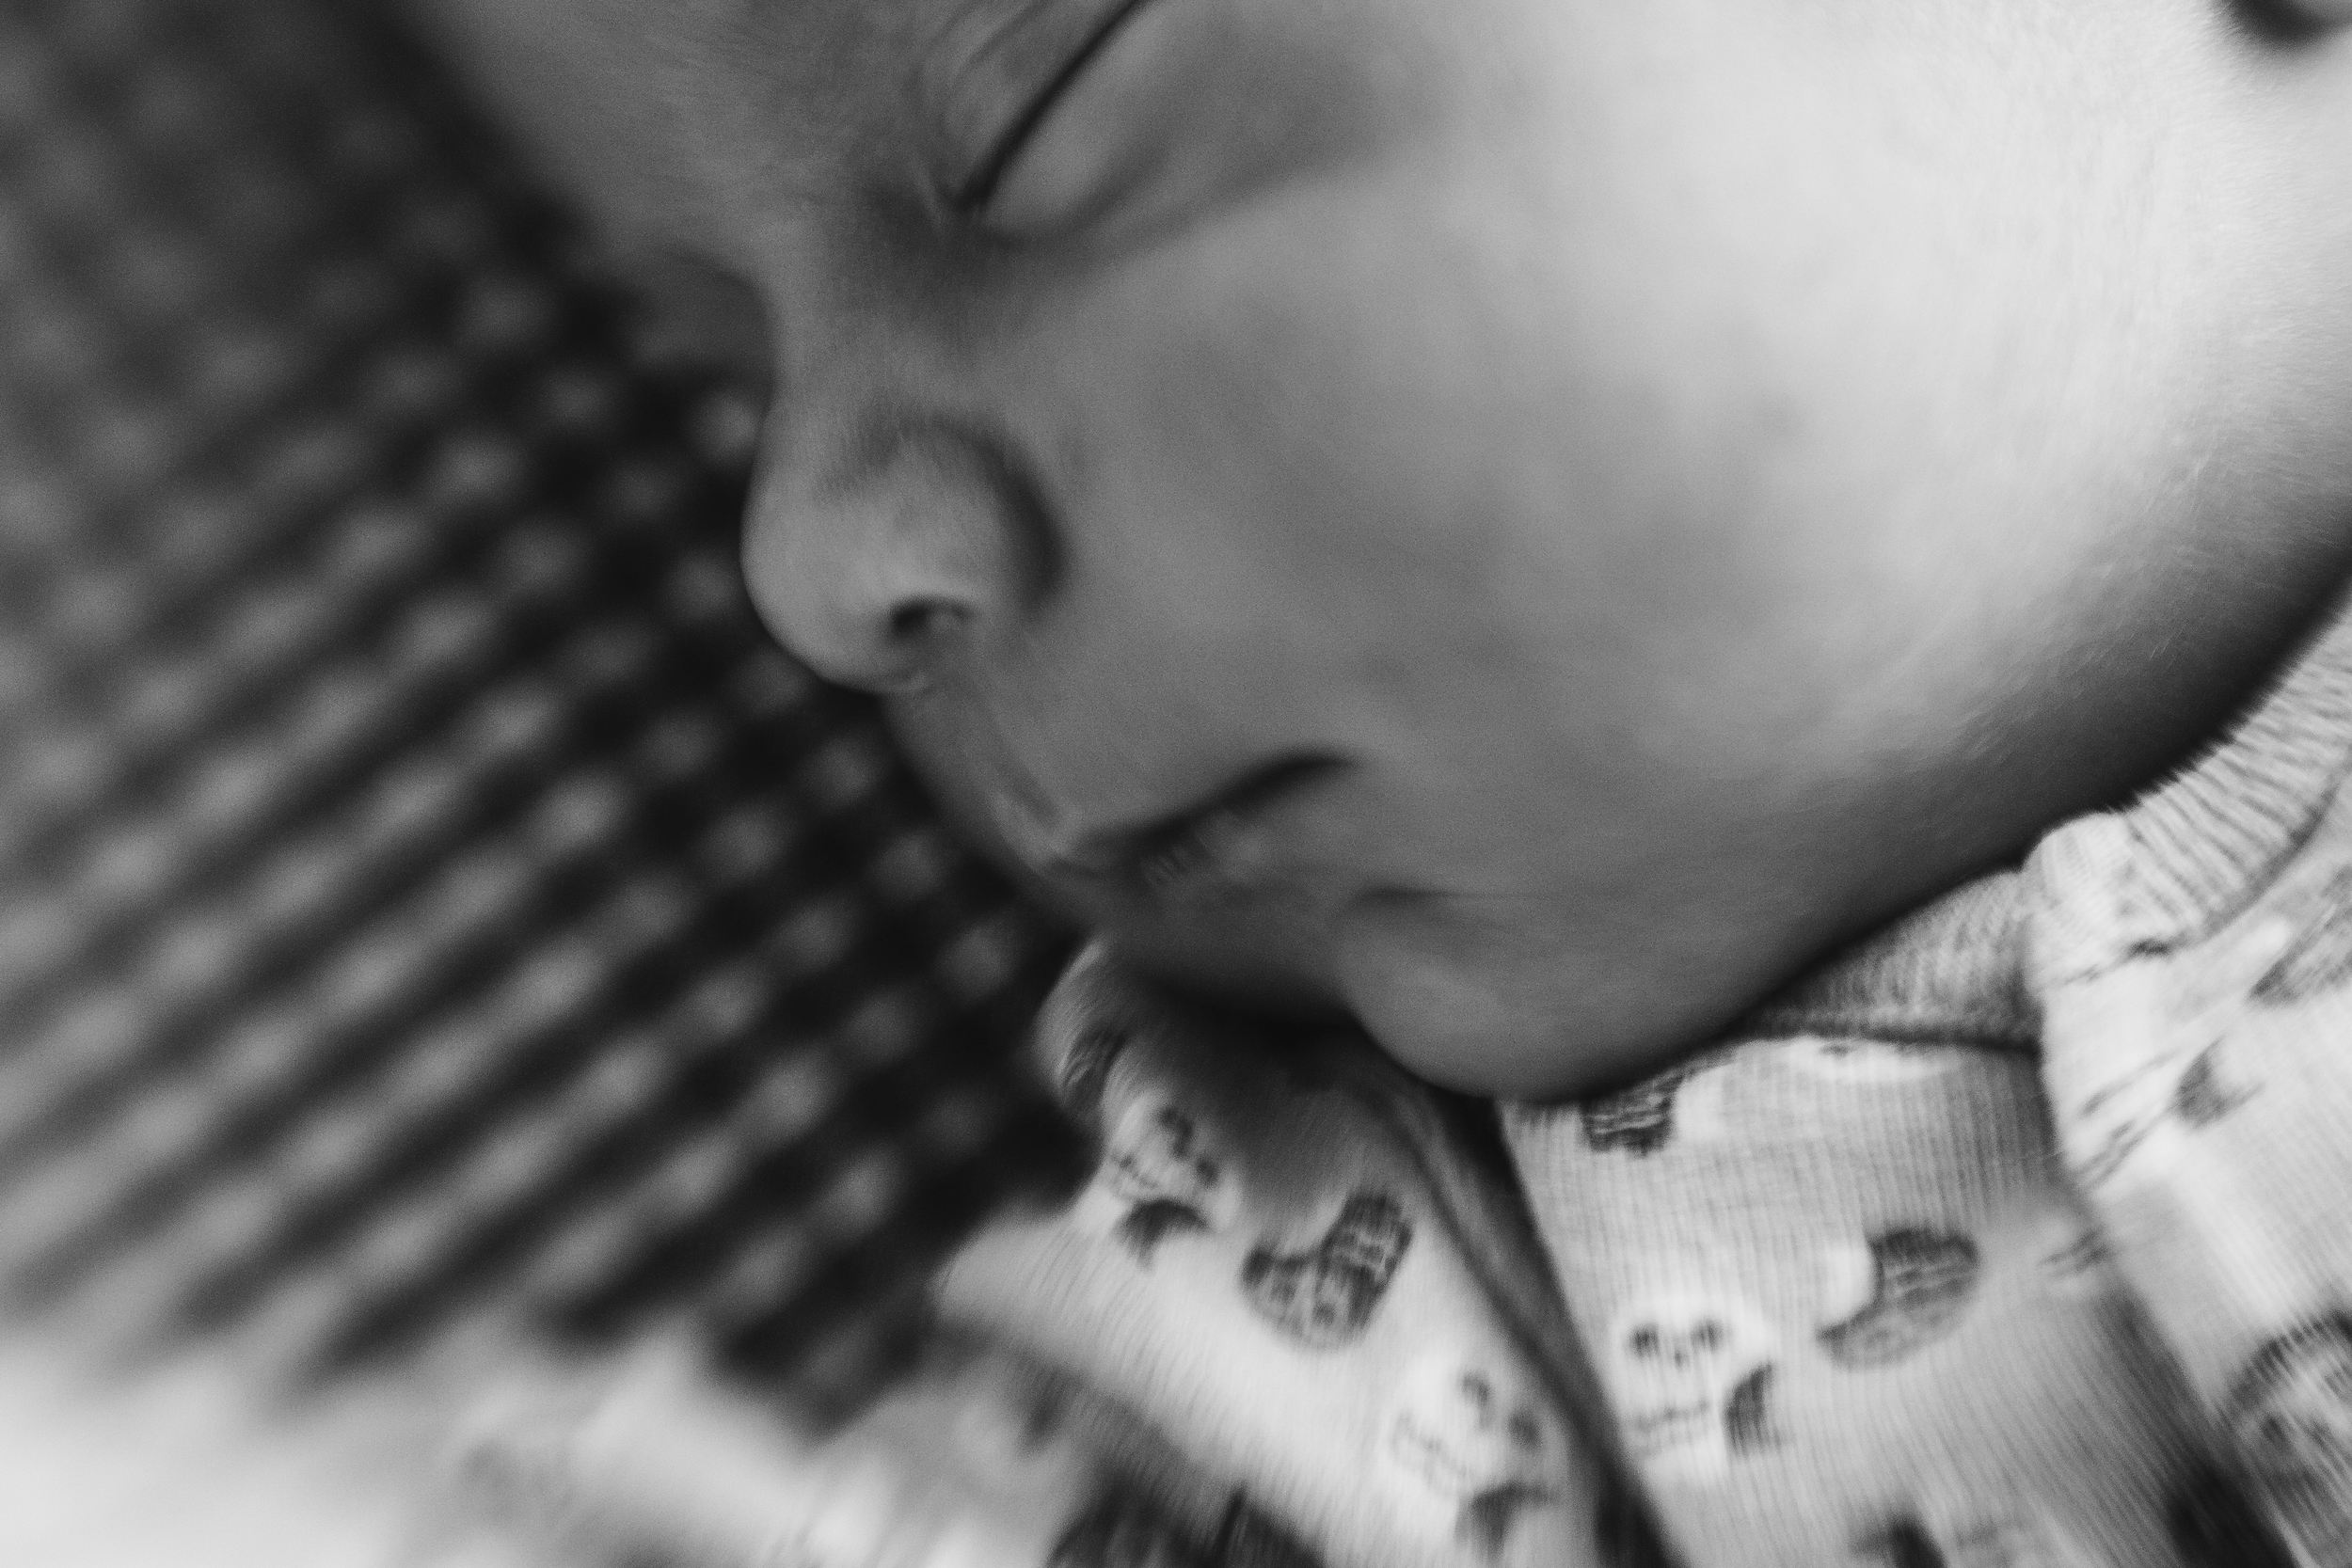
This will create a really cool tilt shift effect! You can also use freelensing to create some cool macro shots, night photography, intentional light leaks and blur, and more! (But those are for a different tutorial! )

This technique takes practice and if you are like me, you will try it a few times and get discouraged and give up.
DON'T! Keep practicing! Eventually I went back to it and am now IN LOVE with freelensing! Embrace the challenge and love the flaws!


To Start:

1. Select a lens. A good lens to start with is a 50mm. It is light and you may feel more comfortable holding onto it without dropping it! Anything wider than 50mm is tough to focus however I have gotten some great results from my 35mm!
I also love my 85mm for freelensing, it seems to be my lens of choice lately! it is heavier though so make sure you have a steady hand!
You can use a zoom lens as well but be careful as they tend to be heavy. If you use a zoom, make sure it is zoomed to the distance you want to shoot from, try 50mm to start!

2. Set your exposure and settings
It is easier to get the photo you want if you set your exposure before taking off your lens. Once you remove the lens, the auto exposure will not work. Set your ISO and shutter speed. Don't worry about your aperture as it will not matter once you take off the lens.

3. Change your lens to manual mode and set your focus to infinity (the little sideways "8" symbol. You can find it by turning your lens clockwise as far as it will go. TIP: if there is a little line beside your infinity symbol, make sure you are lined up with it! You may need to move your ring back slightly to line up correctly!
4. Take off your lens. (Make sure to turn off your camera before detaching the lens)

5. Start shooting by holding your lens in front of your camera. The distance from the camera will create different effects. The farther you move it, the more light leaks you will get.
I suggest starting really close and moving your lens slightly. Move it to the right or left and you will see blur on the edges. Same if you try to move it slightly up or down. You can create some really cool subtle effects by moving your lens only slightly!

Some tips:
- When you are first learning this techniques its best to learn in a controlled environment, like indoors. When you take your lens off the camera you do run the risk of getting dirt in the camera or on the the sensor. So don't try freelensing outdoors on a windy day or when dirt or dust is prevalent!

- Cup your hand around the base of the lens while holding it to prevent some dust or dirt from getting into to you camera.

- Practice on a non moving subject! My newborn has been a great subject these days as he does not move too much yet! This will allow you to try different angles, and discover how much you need to move your lens to create the look you want. Getting focus on moving subjects is difficult and takes a lot of practice!

- Use the Live View function to help you see the focus

- Wear your neck strap!! You will be using two hands and do not want to drop your camera!

- One thing I find helpful is moving your body to find the focus spot, rather than trying to move your lens around too much!


Play around and have fun! The more you practice, the better you will get!
You will never create two images that are the same which is the beauty of freelensing! And you can get a cool tilt shift effect without spending thousands on a tilt shift lens! Have fun and embrace the light leaks and blur!
Freelensing is definitely a fun way to get out of a creative rut! Try it out!

I added some images to a slideshow to give you an idea. And note...for each of these shots, there were likely 10 that did not work!